A burlap jute tote is the perfect blank for spring projects, and a bunch of embroidered carrots pops beautifully against the rustic texture. This tutorial walks you through stabilizing burlap, stitching a clean carrot design, and finishing a tote you can use all season. Great for Easter baskets, farmer’s market runs, or spring gifting.
Materials Needed
- Blank burlap/jute tote bag
- Embroidery machine + hoop (5x7 or 6x10 works great)
- Machine embroidery thread
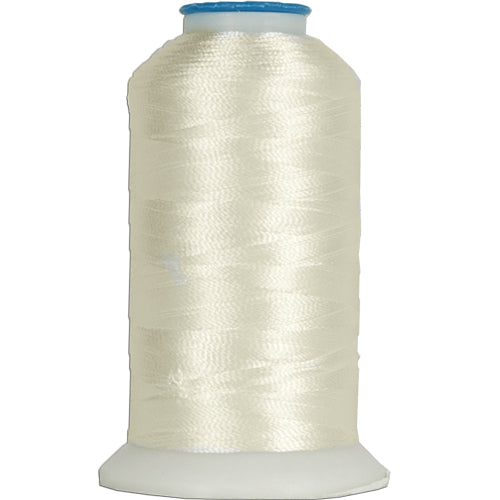
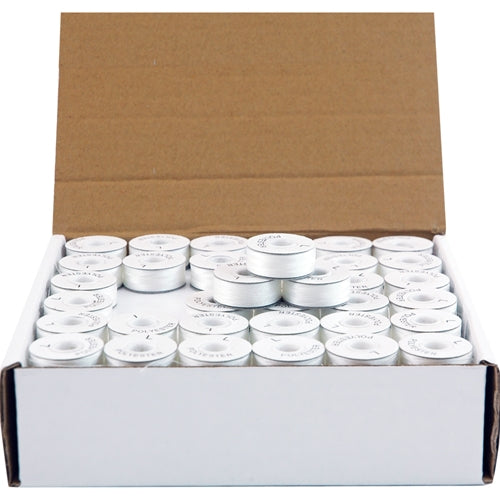
- Prewound bobbin thread
- Regular tearaway stabilizer
- Clear washaway topping (optional)
- Embroidery needle: size 90/14
- Embroidery scissors
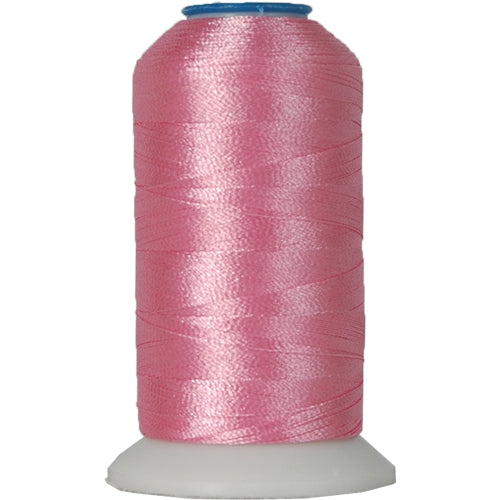
Thread Color Ideas
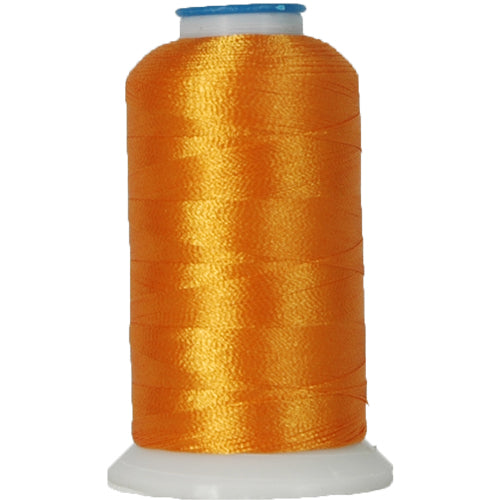
- Carrots: Orange and cream or white for shading
- Bow and Letters: Pink
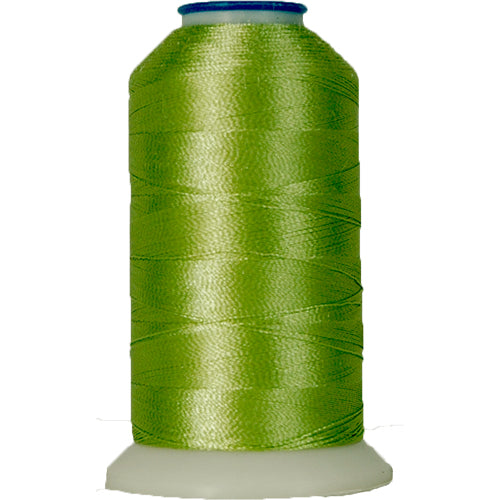
- Leaves: Spring green
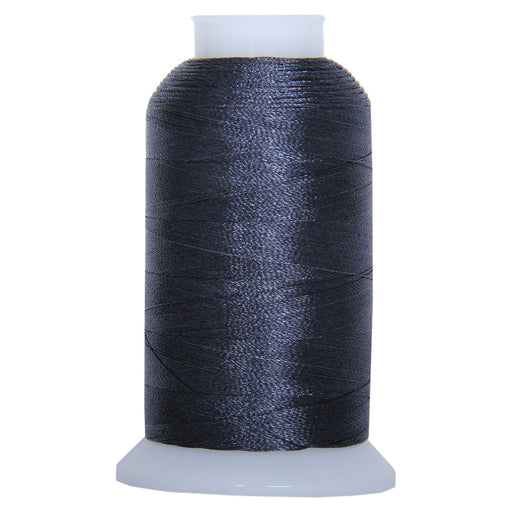
- Optional accents: charcoal or grey outline color

Design Suggestions
The carrot design size around 3.5–5 inches tall looks balanced on most totes.
Best Tote Placement
Classic front placement: centered, about 3–4 inches down from the top edge of the tote.
If your tote has a pocket seam or heavy stitched band, keep the design above it so the hoop stays flat.
Step 1: Prep the Tote Bag
Trim any long jute fibers on the front panel where the design will stitch. Don’t shave it down, just remove loose strands that could snag.
Step 2: Stabilize
Hoop your tearaway stabilizer and tote bag tightly.
Optional: Hoop and lightly spray the stabilizer with temporary adhesive. Smooth the tote front onto the hooped stabilizer so the design area is flat and supported. If you can float-hoop the tote (instead of hooping the burlap itself), you’ll get cleaner results and less distortion.
Recommended: place water-soluble topping on the outside of the tote over the stitch area. This keeps stitches from sinking into the weave and helps outlines look crisp.
Step 3: Mark Your Placement
Use chalk or a removable marker to find the center of the tote front and the center line for your design. Most embroidery machines make it easy to confirm placement with a trace box.

Step 4: Set Up Your Machine
Needle: 90/14 embroidery needle (burlap is tough and can dull needles)
Thread: Machine embroidery thread on top
Bobbin: standard bobbin thread
Slow your speed a bit if your machine allows it. Burlap behaves better when stitched a little slower.
Step 5: Stitch the Carrot Bunch
Start the design and watch the first few minutes. If you see shifting, stop and use extra tape at the edges (outside the stitch field).
Step 6: Clean Up and Finish
When stitching is finished:
Remove the hoop and gently tear away the water-soluble topping from the front. If tiny bits remain, dab with a damp cloth (don’t soak the burlap). On the inside, remove the tearaway stabilizer
Clip any jump stitches, and you’re done.