Make Your Own Fabric Scrunchies
Welcome to our latest DIY crafting guide! If you're someone who loves adding a touch of personal flair to your everyday style, you're in for a treat. In this post, we'll be diving into the delightful world of creating your own hair scrunchies from fabulous fat quarters and the precision of a rotary cutter set. These small but impactful accessories can effortlessly complement your outfits, and making them at home not only guarantees a perfect match to your unique taste but also offers a creative and relaxing crafting experience. Whether you're a seasoned sewing pro or just starting your creative journey, join us as we make this quick crafting project

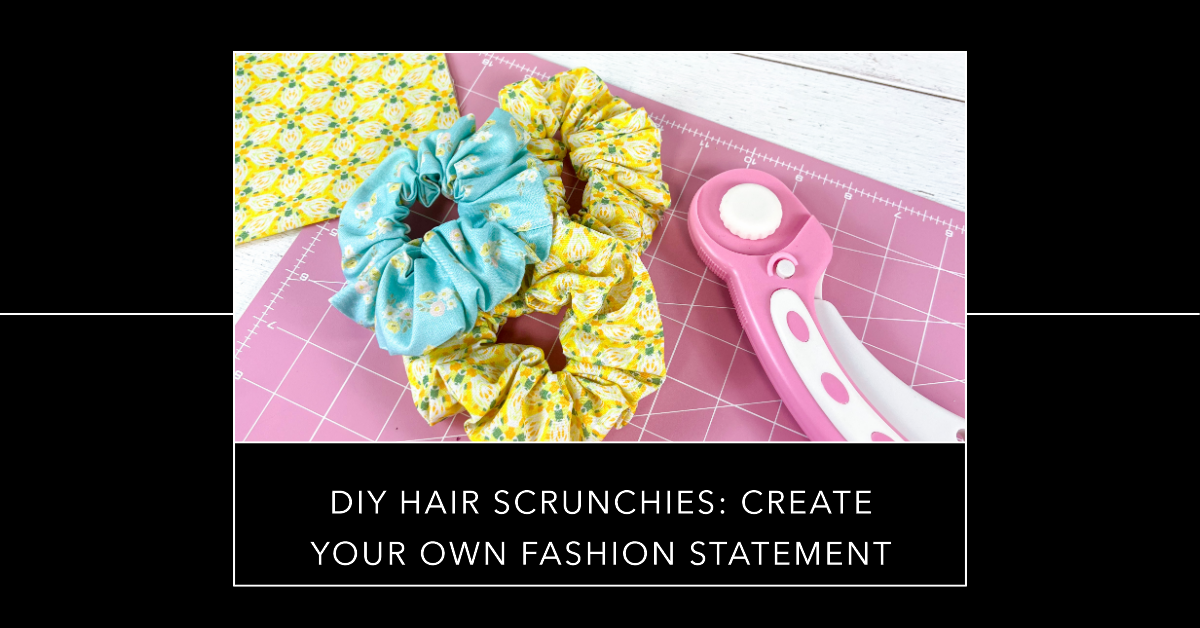
Materials Needed:
- Cotton fabric fat quarters
- 1/4 inch wide elastic
- All Purpose Sewing Thread
- Rotary cutter
- Rotary mat and ruler
- Fabric pins and safety pin
- you will also need a sewing machine and iron

Cut a rectangular piece of fabric measuring approximately 4.5 inches in width and 22 inches in length. Adjust the length according to how full you want your scrunchie to be. You can always trim it later if needed.
Cut a piece of 1/4" elastic approximately 9 inches long.

Fold the fabric in half lengthwise with the right sides together, so that the long edges align. Iron folded edge to flatten.
Pin or clip the fabric along the long edge to secure it in place. This will make it easier to sew.
Using a sewing machine or needle and thread, stitch along the pinned or clipped edge, leaving a 1/4 inch seam allowance. Backstitch at the beginning and end to secure the stitches.
Remove the pins or clips and turn the fabric tube right side out. You can use a safety pin attached to one end to help with turning the fabric. Iron the fabric tube flat.

Attach a safety pin to one end of the elastic.
Insert the safety pin and elastic into one open end of the fabric tube, pushing it through until it reaches the other end. Make sure the other end of the elastic does not disappear into the fabric tube.
Remove the safety pin from the elastic and double knot the two ends of the elastic
Make sure to knot it securely to avoid the elastic slipping out. Trim the ends of the elastic

Once the elastic is secured. Tuck both of the raw edges of the fabric tube under about 1/4".
Overlap the two open ends of the fabric tube by about 1/2 inch completely covering the elastic. No raw fabric ends should be visible
Adjust the fabric evenly around the elastic to distribute the gathers and make sure the scrunchie looks good. Pin or clip the ends of the fabric tube together to secure.

Stitch the two ends together using a sewing machine or needle and thread. Sew as close to the edge as possible, ensuring that you catch both layers of fabric.Trim any excess threads away if necessary.
Your hair scrunchie is now complete and ready to use!
Hope you had fun creating your unique hair accessory. Now you are ready to make more!