How to Make a Wavy Felt Flower
Looking for a quick craft that looks polished without much fuss? This wavy felt flower comes together in just a few minutes using a single spiral shape. It is a great beginner project, and you can make it with a cutting machine or with regular scissors and a paper template. The soft ruffled petals make it perfect for headbands, wreaths, gift toppers, garlands, and craft displays.
What You'll Need
- Soft felt (a 12" x 12" sheet works well for a medium flower)
- Hot glue gun and glue sticks
- Sharp fabric scissors
- Fabric marker or chalk pencil (for the scissor method)
- Printable wavy spiral template, or a wavy spiral cut file
If you are using a cutting machine, you will also want:
- Cricut or other cutting machine
- Pink FabricGrip cutting mat
- Rotary blade for clean cuts on felt

Step 1: Prepare Your Spiral
The flower starts with a wavy spiral shape. You can prep it two ways, depending on the tools you have on hand.
With a cutting machine: Upload your wavy spiral flower design into Design Space and size it to your liking. A larger spiral makes a larger flower, and a smaller spiral makes a smaller one. Start with a 5" or 6" spiral if you are not sure, since that gives a nicely balanced bloom.
With scissors: Print a wavy spiral template at the size you want, or draw your own freehand on paper. Cut out the paper template, lay it on your felt, and trace around the wavy edge using a fabric marker or chalk pencil.
Step 2: Cut the Felt Spiral
With a cutting machine: Place your felt on a pink FabricGrip mat and load it into your machine. A rotary blade works best on soft felt because it cuts cleanly without dragging the fabric. Send the design to cut, then carefully remove the felt from the mat once it is finished.
With scissors: Working slowly, cut along your traced line with sharp fabric scissors. Turn the felt as you go rather than turning your hand, which gives you more control through the curves. Keep the wavy edge smooth and avoid sharp jagged points so the petals roll cleanly.
Tip: When using a cutting machine, peel the mat away from the felt rather than peeling the felt off the mat. This keeps the wavy edges crisp and stretch-free.

Step 3: Start Rolling the Center Bud
Begin rolling the felt from the outer tail end of the spiral. This will form the tight center bud of the flower. The first few turns may feel a little awkward, but the shape comes together quickly. Keep the bottom edge of the felt aligned as you roll so the finished flower sits flat.

Step 4: Continue Rolling the Petals
Keep rolling steadily around the bud, letting the wavy outer edge fan upward as you go. There is no need to pull the felt tight. A relaxed roll gives the petals a softer, more natural shape. Pause every few turns to check that the base is staying flat and even.
Step 5: Glue as You Go
As you continue rolling, add a small drop of hot glue at the base every so often to hold the petals in place. You do not need glue on every section, just enough to keep the flower secure as you build the shape. Work in this order to keep things tidy:
- Roll a few turns of the spiral.
- Press the base together and add a small dot of hot glue.
- Hold for a second, then continue rolling.
Step 6: Finish the Base
When you reach the end of the spiral, you will have a small solid circle left from the center of the cut design. Add a dab of hot glue to this circle and fold it flat against the bottom of the rolled flower. This covers the raw edges and locks the whole flower together with a neat finished underside.
Step 7: Fluff and Shape
Once the glue has cooled, gently adjust the petals with your fingers. The wavy edge gives the flower a soft, ruffled look without much extra work. Your felt flower is ready to use on headbands, wreaths, gift toppers, garlands, bags, or any craft project that needs a quick handmade touch.

Final Thoughts
This is one of those projects that looks far more impressive than it is to make. Try cutting spirals in a few different sizes and colors to build a flower cluster, or coordinate the felt with seasonal palettes for wreaths, hair clips, and gift wrap accents. ThreadArt's soft felt sheets and felt yardage come in a wide range of colors, so it is easy to mix and match for whatever project you have in mind.
Materials Needed
-
Original price $57.00Original price $57.00 - Original price $57.00Original price $57.00Current price $24.99$24.99 - $24.99Current price $24.99
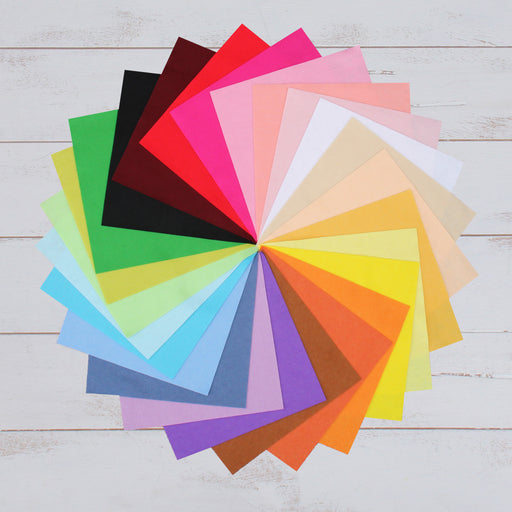
Premium Felt Fabric Variety Pack - 25 Different Colors 12" x 12" Sheets
Out of stockHigh quality felt in 12" x 12" sheet packages. Package includes one sheet of 25 different colors. Our felt is the quality of wool, wool-blend with...
View full detailsOriginal price $57.00Original price $57.00 - Original price $57.00Original price $57.00Current price $24.99$24.99 - $24.99Current price $24.99Sold out -
Original price $19.00Original price $19.00 - Original price $19.00Original price $19.00Current price $9.99$9.99 - $9.99Current price $9.99
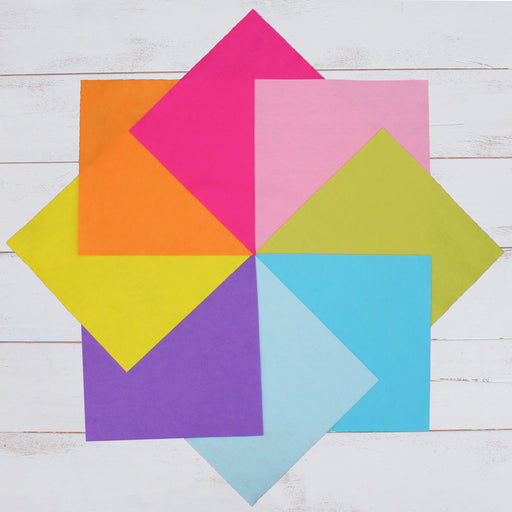
Premium Felt Fabric Variety Pack - 8 Different Confetti Colors - 12" x 12" Sheets
In stockConfetti colors of high quality felt in 12" x 12" sheet packages. Package includes one sheet each of aqua, moss green, yellow, pink, magenta, oran...
View full detailsOriginal price $19.00Original price $19.00 - Original price $19.00Original price $19.00Current price $9.99$9.99 - $9.99Current price $9.99Save 47% -
Original price $19.00Original price $19.00 - Original price $19.00Original price $19.00Current price $9.99$9.99 - $9.99Current price $9.99
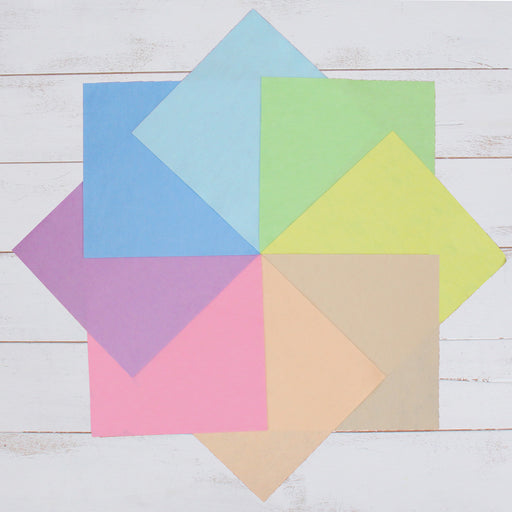
Premium Felt Fabric Variety Pack - 8 Different Frostings Colors - 12" x 12" Sheets
In stockFrosting colors of high quality felt in 12" x 12" sheet packages. Package includes one sheet each of pink, peach, light yellow, light blue, lavend...
View full detailsOriginal price $19.00Original price $19.00 - Original price $19.00Original price $19.00Current price $9.99$9.99 - $9.99Current price $9.99Save 47%