Needle Punch a Strawberry Patch
This needle punch strawberry coaster is fast, friendly, and makes a sweet beginner project. You will punch a simple strawberry shape into a hoop, then trim and back it into a sturdy little coaster that brightens any table.
What You'll Need
- Cotton fabric (a square at least 2 inches larger than your hoop)
- Needle punch tool
- Embroidery hoop or gripper frame (about 5 to 6 inches)
- Cotton yarn: red, green, and white
- Scissors
- Fabric marker or pencil
- Felt for backing
- Fabric glue or a hand needle and thread

Step 1: Prep Your Fabric in the Hoop
Cut a square of cotton fabric a couple inches bigger than your hoop. Stretch it tight like a drum. If the fabric loosens while you punch, pause and re-tighten before moving on. A firm, even surface is the key to clean, consistent loops.
Step 2: Draw the Coaster and Strawberry
On the fabric, sketch a simple strawberry shape: a rounded top that tapers to a soft point at the bottom, with a small leafy cap on top. Keep the shape bold and uncomplicated so it reads clearly.
Tip: Use a printed reference for the strawberry outline.

Step 3: Punch the Strawberry Outline
Thread your punch needle with red yarn and punch the outline of the strawberry body first. Working the outline before the fill helps keep the shape crisp. Aim for a steady rhythm and consistent loop height as you go.
Step 4: Fill the Strawberry Body
Still using red, fill in the body of the strawberry with dense, even punches. Work in small sections and try to keep your spacing tight so no fabric shows through on the front side. A packed fill gives the strawberry that soft, plush look.

Step 5: Add the Seeds and Leafy Cap
Switch to white yarn and punch small clusters of seeds scattered across the red body. Two or three quick punches in each spot is plenty. Then thread green yarn and fill the leafy cap on top of the strawberry, working outward from the center to keep the shape tidy.
Step 6: Trim, Back, and Finish
Remove the fabric from the hoop. Trim the piece leaving about 1 inch of margin beyond the punched area. Run a line of fabric glue around the margin, fold it neatly to the back, then attach a felt backing to cover the raw edges. Let everything dry fully before trimming away the excess felt and fabric. You can also hand stitch the felt on if you prefer a sewn finish.

Final Thoughts
These strawberry patches are easy to batch in a single afternoon, which makes them lovely little gifts on their own or attached to bags, sweatshirts and more with stitches or fabric glue. If your loops look uneven, a light trim across the surface gives a tidy, velvety finish. For best wear, keep your punches dense and your felt backing fully attached. Cotton yarn from our collection works beautifully here and comes in plenty of fruit-friendly shades if you want to branch out into lemons, watermelons, or cherries next.
Materials Needed
-
Original price $6.49Original price $6.49 - Original price $6.49Original price $6.49Current price $5.49$5.49 - $5.49Current price $5.49
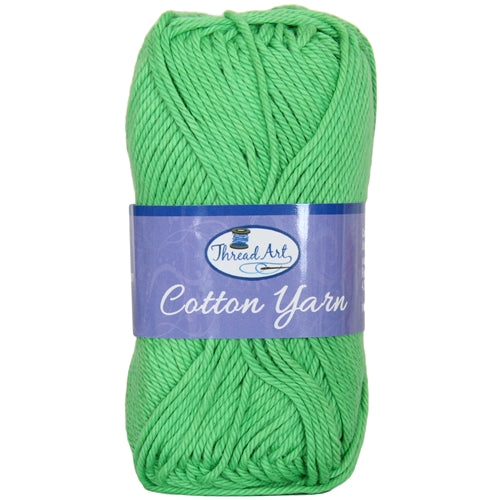
Crochet Cotton Yarn - #4 - Green - 50 gram skeins - 85 yds
In stockPure cotton yarn that's been smoothly combed for softness. Each bundle provides you with 85 yards of yarn that's a #4 thickness, also called Medium...
View full detailsOriginal price $6.49Original price $6.49 - Original price $6.49Original price $6.49Current price $5.49$5.49 - $5.49Current price $5.49Save 15% -
Original price $5.99Original price $5.99 - Original price $5.99Original price $5.99Current price $5.49$5.49 - $5.49Current price $5.49
Crochet Cotton Yarn - #4 - Red - 50 gram skeins - 85 yds
In stockPure cotton yarn that's been smoothly combed for softness. Each bundle provides you with 85 yards of yarn that's a #4 thickness, also called Medium...
View full detailsOriginal price $5.99Original price $5.99 - Original price $5.99Original price $5.99Current price $5.49$5.49 - $5.49Current price $5.49Save 8% -
Original price $5.99Original price $5.99 - Original price $5.99Original price $5.99Current price $5.49$5.49 - $5.49Current price $5.49
Crochet Cotton Yarn - #4 - White - 50 gram skeins - 85 yds
In stockPure cotton yarn that's been smoothly combed for softness. Each bundle provides you with 85 yards of yarn that's a #4 thickness, also called Medium...
View full detailsOriginal price $5.99Original price $5.99 - Original price $5.99Original price $5.99Current price $5.49$5.49 - $5.49Current price $5.49Save 8% -
Original price $6.49Original price $6.49 - Original price $6.49Original price $6.49Current price $5.49$5.49 - $5.49Current price $5.49
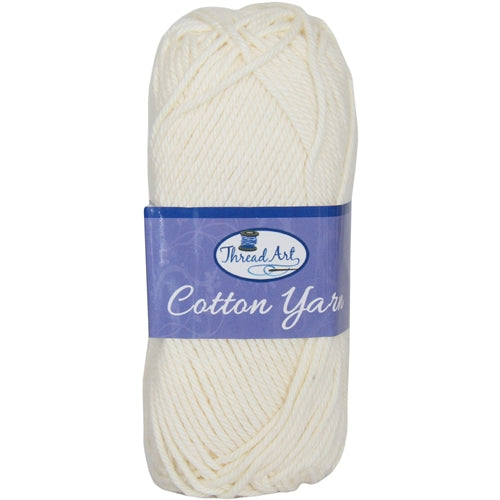
Crochet Cotton Yarn - #4 - Off White - 50 gram skeins - 85 yds
In stockPure cotton yarn that's been smoothly combed for softness. Each bundle provides you with 85 yards of yarn that's a #4 thickness, also called Medium...
View full detailsOriginal price $6.49Original price $6.49 - Original price $6.49Original price $6.49Current price $5.49$5.49 - $5.49Current price $5.49Save 15% -
Original price $11.99Original price $11.99 - Original price $11.99Original price $11.99Current price $8.90$8.90 - $8.90Current price $8.90
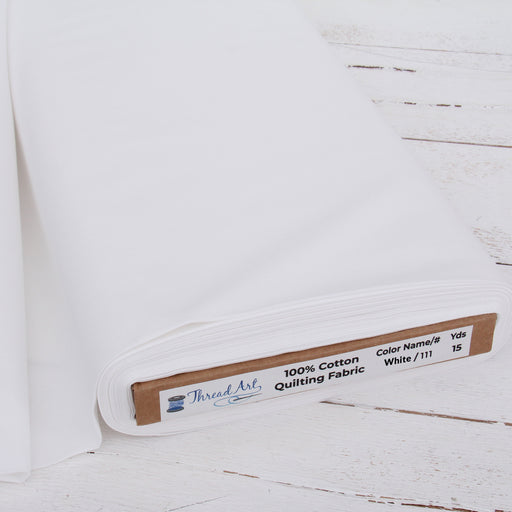
Premium Cotton Quilting Fabric Sold By The Yard - Solid White
In stockHigh quality cotton quilting fabric 44" wide, sold by the yard. Our premium solid color quilting fabric is 100% pure cotton in a soft pliable 145...
View full detailsOriginal price $11.99Original price $11.99 - Original price $11.99Original price $11.99Current price $8.90$8.90 - $8.90Current price $8.90Save 26% -
Original price $55.00Original price $55.00 - Original price $55.00Original price $55.00Current price $29.99$29.99 - $29.99Current price $29.99
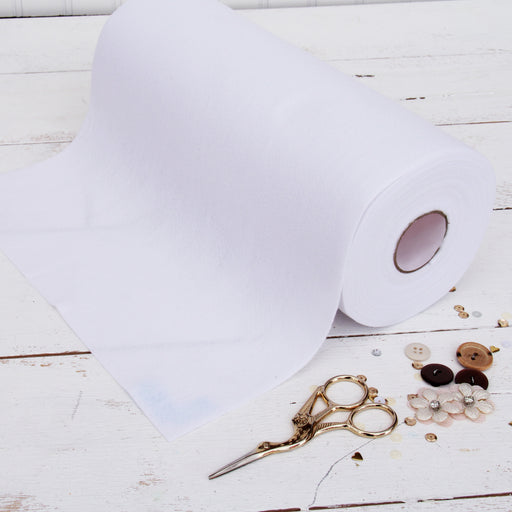
White Felt 12" x 10 Yard Roll - Soft Premium Felt Fabric
In stockHigh quality felt in 12" x 10 yard rolls. Our felt is the quality of wool, wool-blend without the price. 100% high quality polyester is approximat...
View full detailsOriginal price $55.00Original price $55.00 - Original price $55.00Original price $55.00Current price $29.99$29.99 - $29.99Current price $29.99Save 45% -
Original price $4.50 - Original price $4.50Original price$4.50$4.50 - $4.50Current price $4.50
Wooden Round Embroidery Hoops - 7 Inch
In stockThis round wooden hoop is ideal for embroidery and can also be used as a stretcher for fabric, painting and more!
Original price $4.50 - Original price $4.50Original price$4.50$4.50 - $4.50Current price $4.50 -
Original price $5.99 - Original price $5.99Original price$5.99$5.99 - $5.99Current price $5.99
3.5mm Pink Punch Needle Tool With Threader
In stockBeautiful pink embroidery 3.5mm punch needle and with needle threader included. The ergonomically designed handle is easy and comfortable to grip ...
View full detailsOriginal price $5.99 - Original price $5.99Original price$5.99$5.99 - $5.99Current price $5.99 -
Original price $12.99Original price $12.99 - Original price $12.99Original price $12.99Current price $8.99$8.99 - $8.99Current price $8.99
7pcs Needle Punch Tool - 4 Sizes of Needles
In stockBeautiful pink embroidery punch needle 5.0mm and with needle threader included. The ergonomically designed handle is easy and comfortable to grip ...
View full detailsOriginal price $12.99Original price $12.99 - Original price $12.99Original price $12.99Current price $8.99$8.99 - $8.99Current price $8.99Save 31%