

Sashiko for Beginners: Stitch a Sunhat Design
Sashiko is a traditional Japanese hand stitching technique built on one simple running stitch, which makes it one of the most relaxing ways to start stitching by hand. In this beginner project, you will stitch a charming sunhat design onto a pre-printed cloth, then rinse the guide lines away to reveal a finished piece you can frame, sew into a pillow, or give as a gift. No hoop, no transferring, and no experience needed.
What You'll Need
- ThreadArt Pre-Printed Sashiko Cloth, Sunhat Wash-Away Design
- ThreadArt Sashiko Thread in Navy 111 (100% cotton, size 20/6)
- ThreadArt Sashiko Thread in Gold 15, or any two colors from our Sashiko Thread collection
- Sashiko needles or a crewel embroidery needle with a long eye
- Small embroidery scissors
- A bowl of cool water, a clean towel, and an iron

Step 1: Prep Your Cloth and Thread
Take the cloth out of the package and smooth it flat with your hands. The sunhat design is printed right on the fabric with wash-away guide lines, so there is nothing to trace or transfer. Keep the cloth away from water and steam until you are finished stitching, since moisture will make the pattern disappear.
Cut a comfortable length of sashiko thread, about 10 to 12 inches, and tie a small knot at the end. Sashiko thread is thicker than regular embroidery floss, so a needle with a long eye makes threading easy. Skip the hoop. Sashiko is stitched with the fabric loose in your hand, which is part of what makes it so relaxing.
Step 2: Learn the Running Stitch
Every line in this design uses the same running stitch. Bring the needle up from the back of the fabric at the start of a printed line, then rock the needle in and out along the line, following the dashes. Instead of pulling the thread through after every stitch, load three or four stitches onto the needle at once, then pull the thread through gently. Smooth the fabric flat with your fingers after each pull so the stitches lie evenly.
- Come up at the start of a printed line.
- Weave the needle in and out along the dashes, loading several stitches at a time.
- Pull the thread through, then smooth the fabric so it does not pucker.
- Repeat until you reach the end of the line, then knot off on the back.
Sashiko is meant to have a handmade look, so do not worry about perfectly even stitches. The rhythm comes naturally after a few lines.

Step 3: Stitch the Design
Start with the bow in navy. The long straight lines are the easiest place to build your rhythm, and the darker thread makes it simple to see your progress. Stitch the hat next, following each line from one end to the other.
Switch to gold for the crown of the hat. The geometric fill is stitched the same way, one line at a time. Work all the lines in one direction first, then turn the cloth and stitch the crossing lines. Keep your thread tension relaxed. If the fabric starts to draw in, gently stretch it back into shape before continuing.
Step 4: Rinse Away the Pattern
Once every line is stitched, fill a bowl with cool water and submerge the cloth. Swish it gently and let it soak for a few minutes. The printed guide lines dissolve on their own, leaving only your stitches behind. If any faint lines remain, hold the cloth under running water and rub lightly with your fingers.

Step 5: Dry, Press, and Enjoy
Lay the cloth flat on a clean towel and let it dry completely. Then place a pressing cloth over the stitches and press gently with a warm iron to smooth the fabric and set the stitches. Press from the back when you can, so the thread keeps its soft, slightly raised texture.
Your sunhat is finished. Frame it in a simple hoop or shadow box, stitch it into a pillow cover, or sew it onto a tote bag, quilt or napkin. Whatever you choose, you have completed your first sashiko project.

Final Thoughts
This project is a gentle introduction to sashiko, and the same running stitch will carry you into traditional geometric patterns, visible mending, and quilting details. Try the design in a different palette, like sage and ivory or rust and denim blue, from our Sashiko Thread collection. A finished cloth also makes a thoughtful handmade gift, especially paired with a second kit and a few thread cards so the recipient can stitch one too.
Materials Needed
-
Original price $16.99 - Original price $16.99Original price$16.99$16.99 - $16.99Current price $16.99
ThreadArt Pre-Printed Sashiko Cloth - Sunhat Wash-Away Design
In stockCreate a charming sashiko-inspired sunhat design with this pre-printed stitching cloth from ThreadArt. The design features a wide-brim sunhat with ...
View full detailsOriginal price $16.99 - Original price $16.99Original price$16.99$16.99 - $16.99Current price $16.99 -
Original price $6.99 - Original price $6.99Original price$6.99$6.99 - $6.99Current price $6.99
ThreadArt Sashiko Thread, 100% Cotton, Medium Size 20/6, Navy 111
In stockDiscover the beauty of traditional Japanese embroidery with ThreadArt’s premium 20/6 Sashiko thread. Made in Japan from 100% natural cotton, our th...
View full detailsOriginal price $6.99 - Original price $6.99Original price$6.99$6.99 - $6.99Current price $6.99 -
Original price $6.99 - Original price $6.99Original price$6.99$6.99 - $6.99Current price $6.99
ThreadArt Sashiko Thread, 100% Cotton, Medium Size 20/6, Gold 15
In stockDiscover the beauty of traditional Japanese embroidery with ThreadArt’s premium 20/6 Sashiko thread. Made in Japan from 100% natural cotton, our th...
View full detailsOriginal price $6.99 - Original price $6.99Original price$6.99$6.99 - $6.99Current price $6.99 -
Original price $5.00 - Original price $5.00Original price$5.00$5.00 - $5.00Current price $5.00
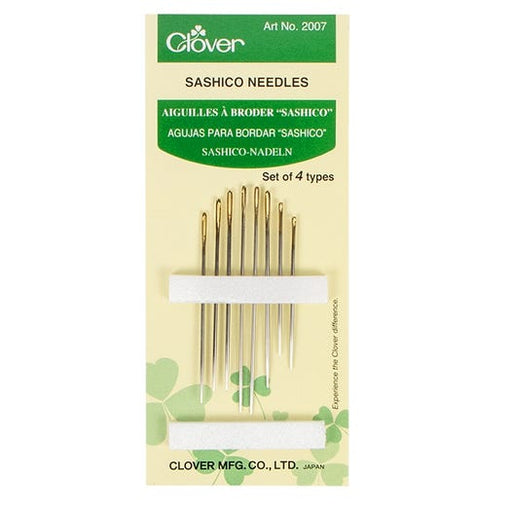
Sashiko Needles from Clover
In stockClover Sashico Needles have sharp needle tips that enables smooth insertion into fabric. 8 needle, set of 4 types
Original price $5.00 - Original price $5.00Original price$5.00$5.00 - $5.00Current price $5.00 -
Original price $7.99 - Original price $7.99Original price$7.99$7.99 - $7.99Current price $7.99
3.5 Inch Gold Stork Scissors
Out of stockStylish and functional, this 3-1/2-Inch pair of embroidery scissors features a beautiful stork design handles in gold. Ideal for cutting threads.
Original price $7.99 - Original price $7.99Original price$7.99$7.99 - $7.99Current price $7.99Sold out